|
Map Tutorial So I started off with odinist's map and I ran off a full page copy on my printer (for all the copies I printed off while doing this I kept the print settings to economy settings. Printing for speed not quality, because there's no need to waste ink when I just need to block out basic shapes. 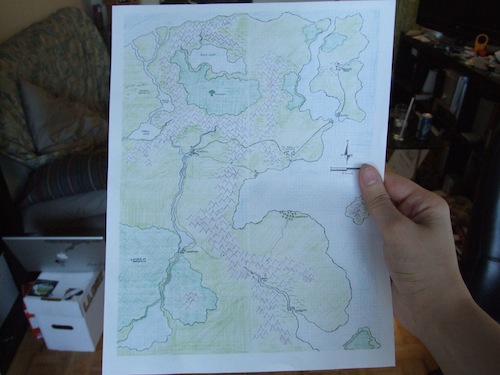 Step 1 - Basic Shapes
First thing I did was trace the land and water spaces to a sheet of tracing paper with my pencil, going lightly incase I made any mistakes. Then i went over those lines with my fine liner. I used a 01 on this but it's not hugely important that you do. If you have a utility board or even a spare board/table top you don't mind getting some tape on, I recommend taping your tracing sheet and the sheet below it down. It keeps things in line properly. Set that aside and if your tracing paper is curling you might want to press it between some big books when you're done with it. *As a little tip for making your shorelines nice and uneven, try holding your writing utensil about an inch farther up than you normally would. This increases the severity of every little twitch of your hand at the nib end of the pen. 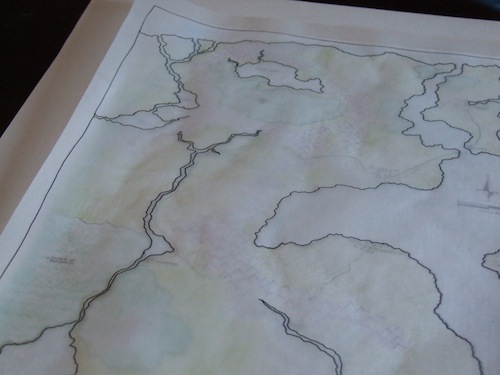
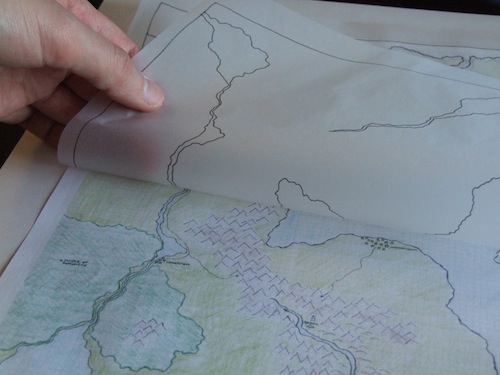 You can throw this on the scanner now if you like, at this point I did. I like to see the progression of all the parts I'm building and get a good sense that the style of them is working together. You know how awkward something can end up looking when someone has used clipart from two very differently styled sources, it just won't fit right. Same idea here, I wanted to make sure my drawings had a similar styling. If you are going to scan this now, CLICK HERE to read a bit about scanning it and importing to Illustrator. If you'd like to wait and just want to hear about the mountains COME THIS WAY |